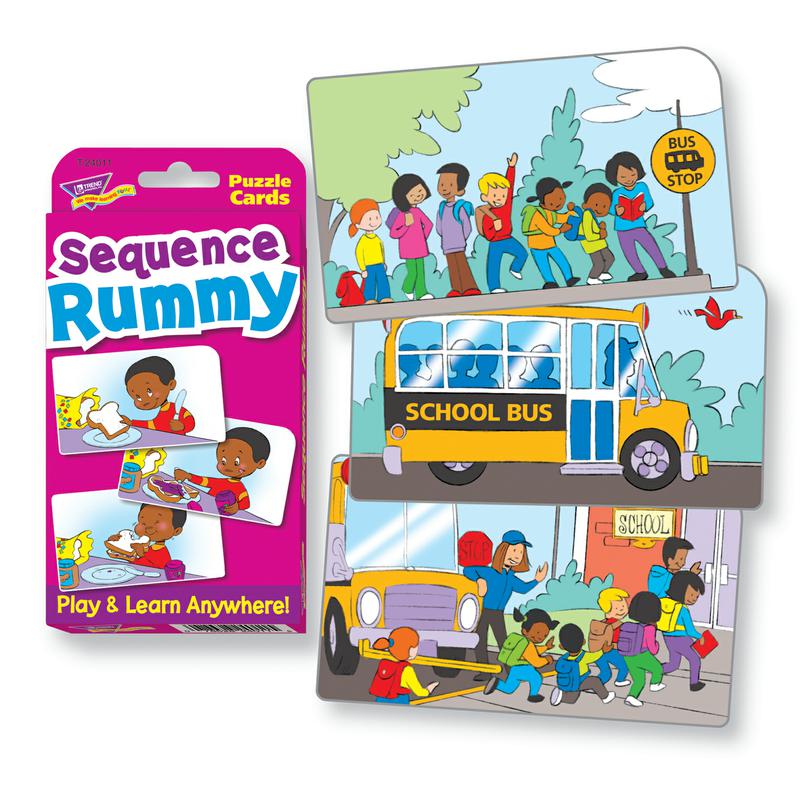
In our last blog post, we discussed expanding language to 2-3 word phrases using verbs and attributes. In this post, we will discuss expanding language even further using one of our favourite materials – sequencing cards.
There are various sequencing skills that the ABLLS assessment touches upon: visual performance of putting picture sequences in order (B26), receptive selection of pictures representing a scene (C53), labels or describes events in a scene (G39), and describes steps in a sequence of daily activity (H34). Also related to this skill are other intraverbal skills such as answering ‘how questions’, tells stories, and describes steps before and after an event. However, if you were strictly following an ABLLS program, you wouldn’t have the opportunity to put them all together.
Teach Across Operants
We like to use the sequencing cards as a way of teaching language across operants. Instead of working on each operant through multiple sets (eg: only putting cards in order until mastered or only receptively identifying pictures until mastered) we use sequencing cards to work on all the skills at once: visual performance, receptive identification, expressive language, and eventually intraverbal skills (how questions, before/after). We find that this helps scaffold and support the language skills and makes it more meaningful.
Start Teaching Sequencing
We usually introduce a set of 3 sequences at once. You can start with either two picture cards or three picture cards in the sequence. Before moving on to a new set of sequences, the student should be able to:
- Put the cards in order (with template and then fade)
- Talk about the sequence using a sentence (to the best of the child’s ability). We don’t expect perfect sentences here; a basic “Boy kicking ball” would suffice. But if your student is capable of more, go ahead and shape “The boy is kicking the ball”.
We encourage using words like “first, next and last” to shape store retell. If your child needs help with the language, text cues are a good option if the student can read (better than a verbal prompt!) and then fade systematically.
Once the student has mastered 2 sets of picture sequences (that’s 3+3 = 6 sequences), use a random rotation step to practice all “mastered” sets and make sure that the skill is being maintained. As the child masters 3-step cards, you can introduce longer sequences and build even more language. Some kids do really well with pictures of themselves performing sequences in their everyday life. Fee free to take real pictures of your kiddo getting her shoes on or brushing her teeth and let her talk about it!
Even More Language Skills
Once the student has mastered putting sequences in order and describing the pictures sequences, there are even more language skills that you can now work on.
1.What Comes Next?
Using mastered sequencing cards, take away the last picture and have the student describe the sequence and then answer “What comes next?” The answer can also be creative! Let the child veer from the “correct” answer and come up with an inference that makes sense with the pictures!
2. Answer “How” Question
Using visuals and then fading visuals, the student can answer “how” questions about mastered sequences. For example, if one of the sequence sets was about eating a banana, then the student can learn to answer “How do you eat a banana” but using the pictures cues and then fading them.
3. Talking About Before and After
Using mastered sequencing cards, the child can learn to answer questions like, “What happens after you build the train tracks?” or “What did you do before you poured the milk?” It’s really helpful to teach this skill using a template because the concepts of before and after are often very abstract to our learners. Use the pictures and the template to teach and then eventually fade the template and pictures until the student can answer novel before/after questions!
The sequencing program helps prepare a student for more complex language skills like being able to retell a story, talking about events in their day, and answering how questions. Using strong visual support and templates and text cues where needed (and then fading) is a great way to support the language and help the student progress through the skill!
Watch our YouTube video here!

Pingback: Verbal Operants - How to ABA
Pingback: Expanding Language Skills – Part 1 - How to ABA - Shira & Shayna BCBA's